
A good-looking, reusable React component for Supabase authentication.
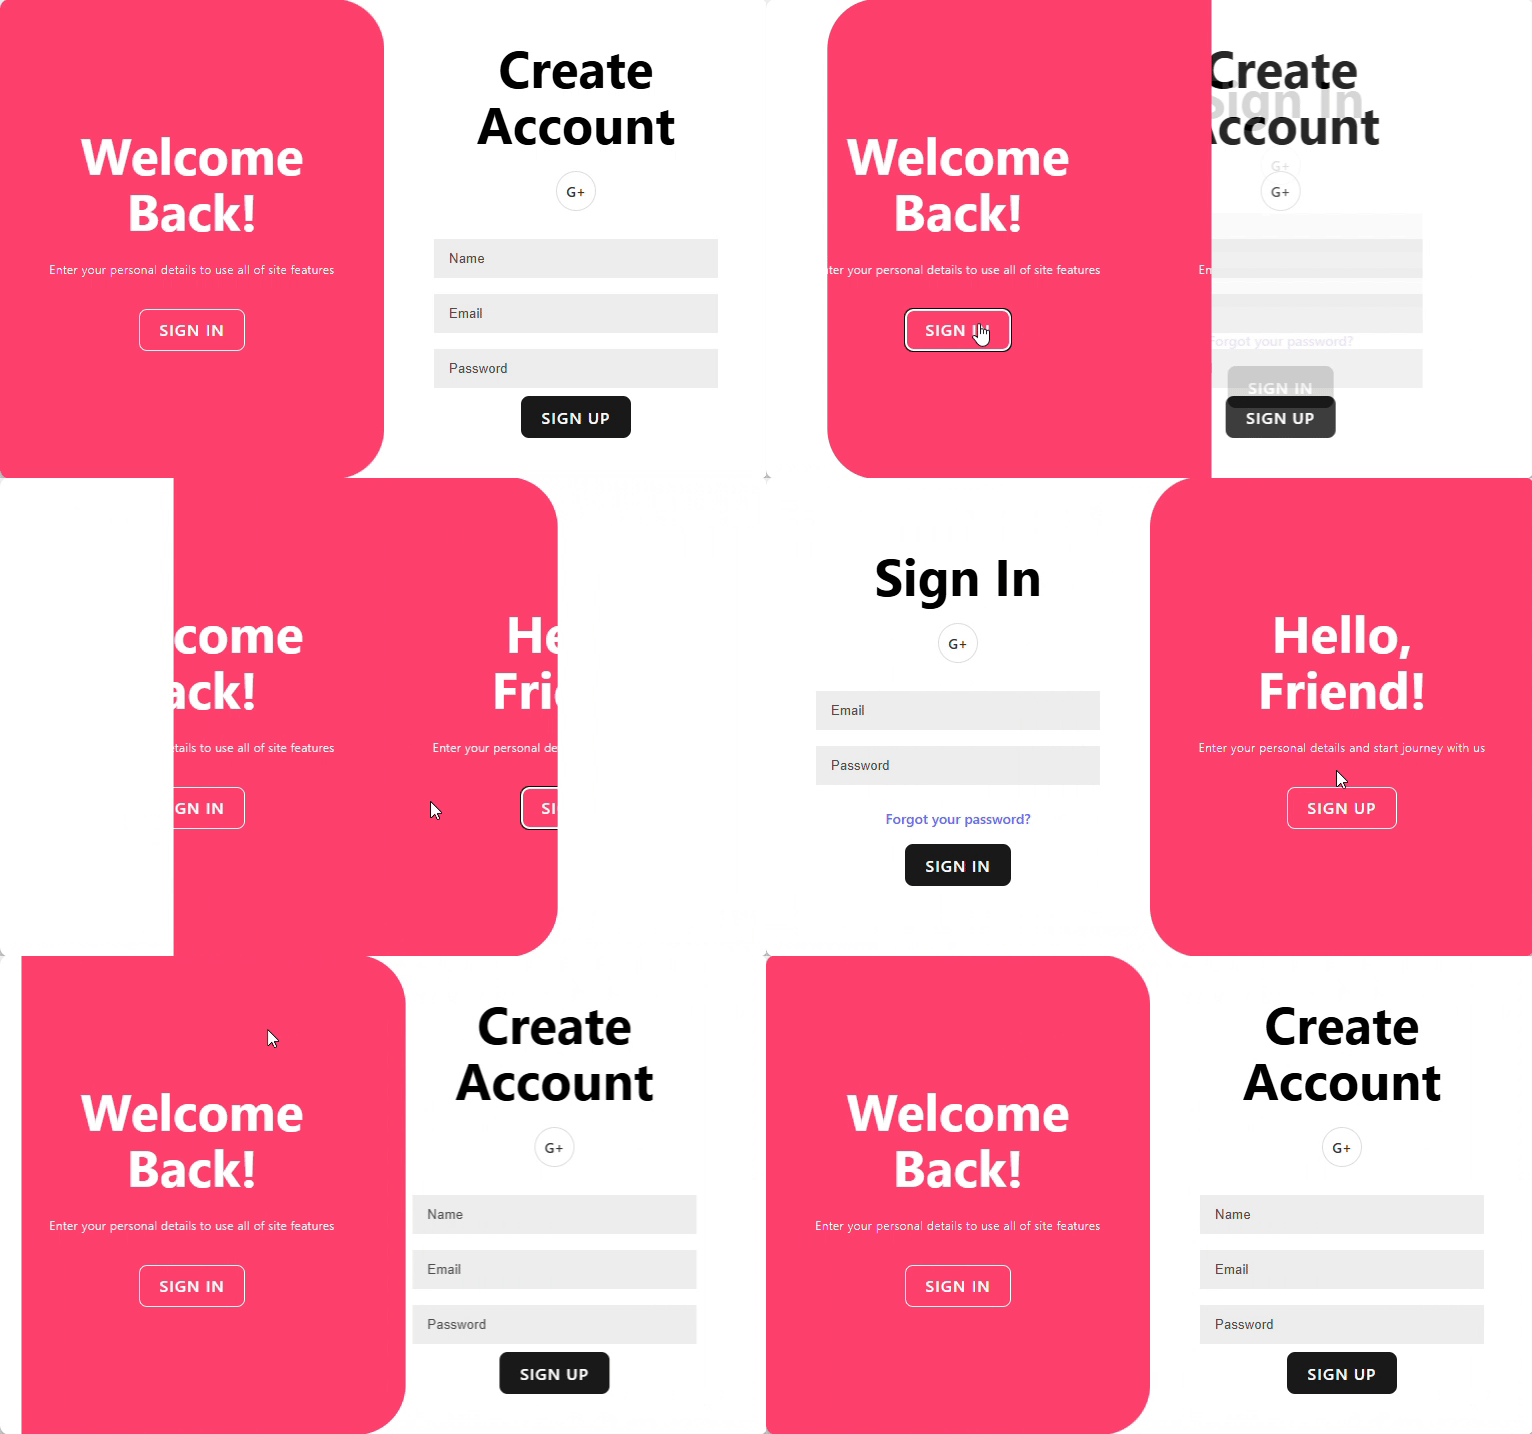
npm install supa-loginimport AuthUI from 'supa-login';
import { createClient } from '@supabase/supabase-js';
const supabase = createClient('YOUR_SUPABASE_URL', 'YOUR_SUPABASE_ANON_KEY');
function App() {
return (
<AuthUI supabaseClient={supabase} />
);
}- Login and Signup forms
- Social login with Google
- Easy to integrate
- Customizable (soon!)
Before you can use supa-login, you need to configure your Supabase project to enable Google authentication.
Every Supabase project has a unique URL and a set of API keys.
-
Go to your Supabase project dashboard.
-
In the left sidebar, navigate to Settings.
-
Click on API.
-
Here you will find your Project URL and your Project API Keys. You'll need the
anonpublickey. -
Copy these values into your
.envfile:VITE_SUPABASE_URL="YOUR_SUPABASE_URL" VITE_SUPABASE_ANON_KEY="YOUR_SUPABASE_ANON_KEY"
Or else
Just click on the Connect button which is in top and navigate to App Frameworks tab
-
Enable the Google Provider in Supabase:
- In your Supabase project dashboard, go to Authentication (the user icon).
- Click on Providers in the sidebar.
- Find Google in the list and enable it.
-
Get Your Google Client ID and Secret:
- Go to the Google Cloud Console.
- Create a new project or select an existing one.
- Navigate to APIs & Services > Credentials.
- Click Create Credentials and select OAuth client ID.
- Choose Web application as the application type.
- Under Authorized redirect URIs, you must add the callback URL from your Supabase Google provider settings. It will look like this:
https://<YOUR_PROJECT_REFERENCE_ID>.supabase.co/auth/v1/callbackNote: You will get this callback URL under Authentication > SignIn/Providers > Google - Click Create. You will now see your Client ID and Client Secret.
-
Add Google Credentials to Supabase:
- Go back to the Google provider settings in your Supabase dashboard. Authentication > SignIn/Providers > Google
- Copy the Client ID and Client Secret from the Google Cloud Console and paste them into the respective fields in Supabase.
- Click Save.
To run the development server:
- Clone the repository.
- Install dependencies:
npm install - Create a
.envfile as described in the Configuration section above. - Start the development server:
npm run dev
To build the library for production, run:
npm run buildThis will create the distributable files in the dist folder.